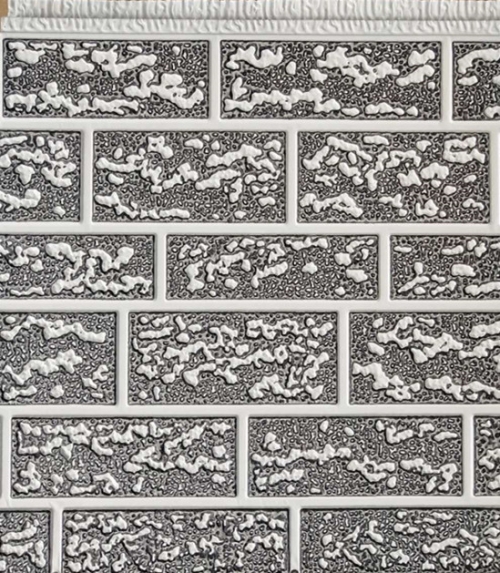
Base treatment → hang the baseline, talk about the dividing line → paste the insulation decorative board → fix the anchor → seal the silicone sealant → expose the protective film, acceptance.
(1) According to the design requirements of the façade, develop a detailed construction plan. Determine the exact size of each façade, hang the horizontal line 仗 vertical line, draw the grid line, and build up from the top to the bottom (or bottom-up) along the upper end of the wall.
(2) Paste and fix the horizontal and vertical lines on the sides of the same façade. Construction along the top level of the building. And the horizontal and vertical partitions are reserved according to the regulations to adjust the corrected finished board.
(3) When the metal engraved plate is installed, the coordinates of the expansion anchor are marked in the corresponding grid line on the wall surface, and the anchor hole is drilled with the electric drill and placed into the expansion plug. When using the bulge, the anchor hole depth is greater than 1 cm of the plastic bulge.
(4) The interface of the polystyrene board to be pasted is applied in advance. In a single grid line, use a toothed scraper to evenly adjust the adjusted bonding mortar, the area is ≥ 60%, the thickness depends on the flatness of the wall surface or the design requirements.
(5) Align the horizontal and vertical grid lines on the wall, stick the board on the wall coated with the bonding mortar, and compact the board with the 2 meter ruler. The horizontal and vertical errors should be controlled within ≤ 4 mm, then Fixed anchor. When fixing the anchor, the expansion bolt will force the anchor to be stressed, and the anchor should not be higher than the groove of the plate, so that the plate itself is flat and the plate surface installed on the same side is in the same plane, and cannot be tightened without limitation, otherwise Will destroy the finished board.
(6) The method of straight seam jointing should be adopted at the corner of the wall to effectively avoid the cracking of the male corner; the joint of the female corner can be treated by seams, and the flatness of the check is checked with the 90° ruler after installation (depending on the specific building) ).
(7) When there is an error that needs to be adjusted, it should be installed and adjusted to move gently. It is forbidden to pull out the pasted board or tap the board surface with the hand or rubber hammer up and down.
(8) 2 to 3 days after the decorative board is bonded and cured (temperature above 25 °C). Leave a gap of about 1~1 mm on the surface of the decorative board. Sealed with a small weather-resistant rubber, the seal should be tightly jointed, horizontal and vertical, beautiful and generous.
(9) Uncover the edge protection film, paste the two sides of the board into vertical or parallel width joints according to the width of the seam design, and use the glue gun to evenly squeeze the weathering glue into the groove of the joint. Avoid contamination of the board and other objects.
(l0) With a smooth circular arc-shaped plastic straight tube and rod, the weather-resistant sealing paste sealed in the slit is compacted and calendered to form a uniform line-shaped U-shaped groove, and the weather resistant adhesive is cured to remove the tape and the protective film.
(11) The decorative plate section and the wall surface, the door and window contact parts are cut on site with the finished board, and then the outer window sill is sealed with sealant. The inner side of the door slope should be about 10 mm above the frame, and the surface of the decorative board should be lower than the window. The drain hole of the box.
(12) The decorative board and the wall are at the foot, and the joint between the scattered water and the decorative board is sealed with a waterproof sealant. The following part of the scattered water, the wall is pasted with the finished board, and then adhered with the bonding mortar.
(13) In order not to affect the aesthetic effect, the decorative panel should be closed on the inside of the parapet wall, and the cross section should be sealed and waterproof.


